
Development getting started guide
Edit on GitHubThis document helps you get started with the Spryker Cloud Commerce OS. It has been structured as a step-by-step checklist to help get you through all the stages involved in working with Spryker. If you have any questions after following these instructions, you can connect with the Spryker community on Slack.
1. Install Spryker
Start from the Marketplace B2B Demo Shop. It is fully functional and serves as the boilerplate for a new project. It ships with a pre-selected set of components, and Spryker offers hundreds of additional modules that you can add later.
If your project does not need marketplace capabilities, install the Marketplace B2B Demo Shop and then remove them. For instructions, see Uninstall the Marketplace from B2B Demo Marketplace. Starting from the marketplace shop and removing what you do not need is preferable to starting from a smaller shop and adding marketplace features later.
You can run Spryker on macOS, Linux, and Windows with WSL1 or WSL2. For installation instructions, see Install Spryker.
2. Set up your project with the Project Starter Wizard (AI Dev SDK)
We recommend Claude Code as your AI coding assistant for Spryker development. It gets the widest support from the AI Dev SDK, which installs as a Claude Code plugin and gives the assistant Spryker-aware context through an MCP server that runs inside your project’s Docker container. To install it, see Claude Code. The SDK also supports Cursor, Windsurf, Copilot, OpenCode, and Codex CLI through the ai-dev:setup command.
Steps 4 and 7 of this guide describe the project setup work in detail: configuring CI, registering a project namespace, defining stores and services, adapting demo data, and replacing the demo test suites. The project-starter-wizard skill from the AI Dev SDK performs that work for you.
The wizard asks everything once in a developer interview — project identity, namespace, services, stores, data mode, catalog scope, localization, and CI — and then drives nine specialist skills in the order that works, ending with a booted and verified shop. It records your answers in a resumable state file, so an interrupted run continues where it stopped. It stages all changes but never commits them.
For what each step does and how to run it, see Project Starter Wizard.
The remaining steps of this guide describe the same work manually. Follow them when you prefer to configure the project yourself or need to understand what the wizard changes.
3. Configure development tools
Spryker offers a set of development tools that make it easier to work with the project: DockerSdk, Xdebug, WebProfiler, Code Quality Tools, and more.
Spryker also provides AI tools to speed up development. The AI Dev SDK gives your AI coding assistant Spryker-aware context and a set of skills for code generation, testing, and troubleshooting. For Claude Code, install it as a plugin — see Claude Code. For the full list of what it can do, see Workflows, Skills, and Agents.
4. Configure repository and Continuous Integration
Push the demo shop to your own repository. For instructions on cloning from a specific branch and pushing to a different remote repository, see this guide.
To configure the Continuous Integration, see Configure CI. The project-ci-generator and cypress-migration skills generate the project pipeline and its end-to-end test baseline for you.
5. Configure your IDE
You can use any IDE that supports PHP and JavaScript/TypeScript for Spryker development. When you start developing a project, you need to restart it quite often. IDE indexing can slow down this process. To improve performance, exclude cache and generated files from indexing in your IDE.
PhpStorm
In PhpStorm, to disable cache indexing, right-click the folder and select Mark Directory As > Excluded. It is safe to disable cache indexing for the following directories:
data/cachedata/tmppublic/(Yves/Zed/Marketplace)/assets.angular/cachesrc/Generated/(Yves/Zed/Marketplace)/Twigsrc/Generated/Yves/Routersrc/Generated/Routersrc/OpenTelemetry
6. Explore Spryker Documentation
To learn about Spryker architecture, different parts of the Client, Shared, Zed, and Yves folders, and their different layers, see the following documents:
- Architecture.
- Architecture as Code - document your project architecture using industry standards.
- Guidelines.
- Backend development
- Frontend development
- Keep project good for upgrade
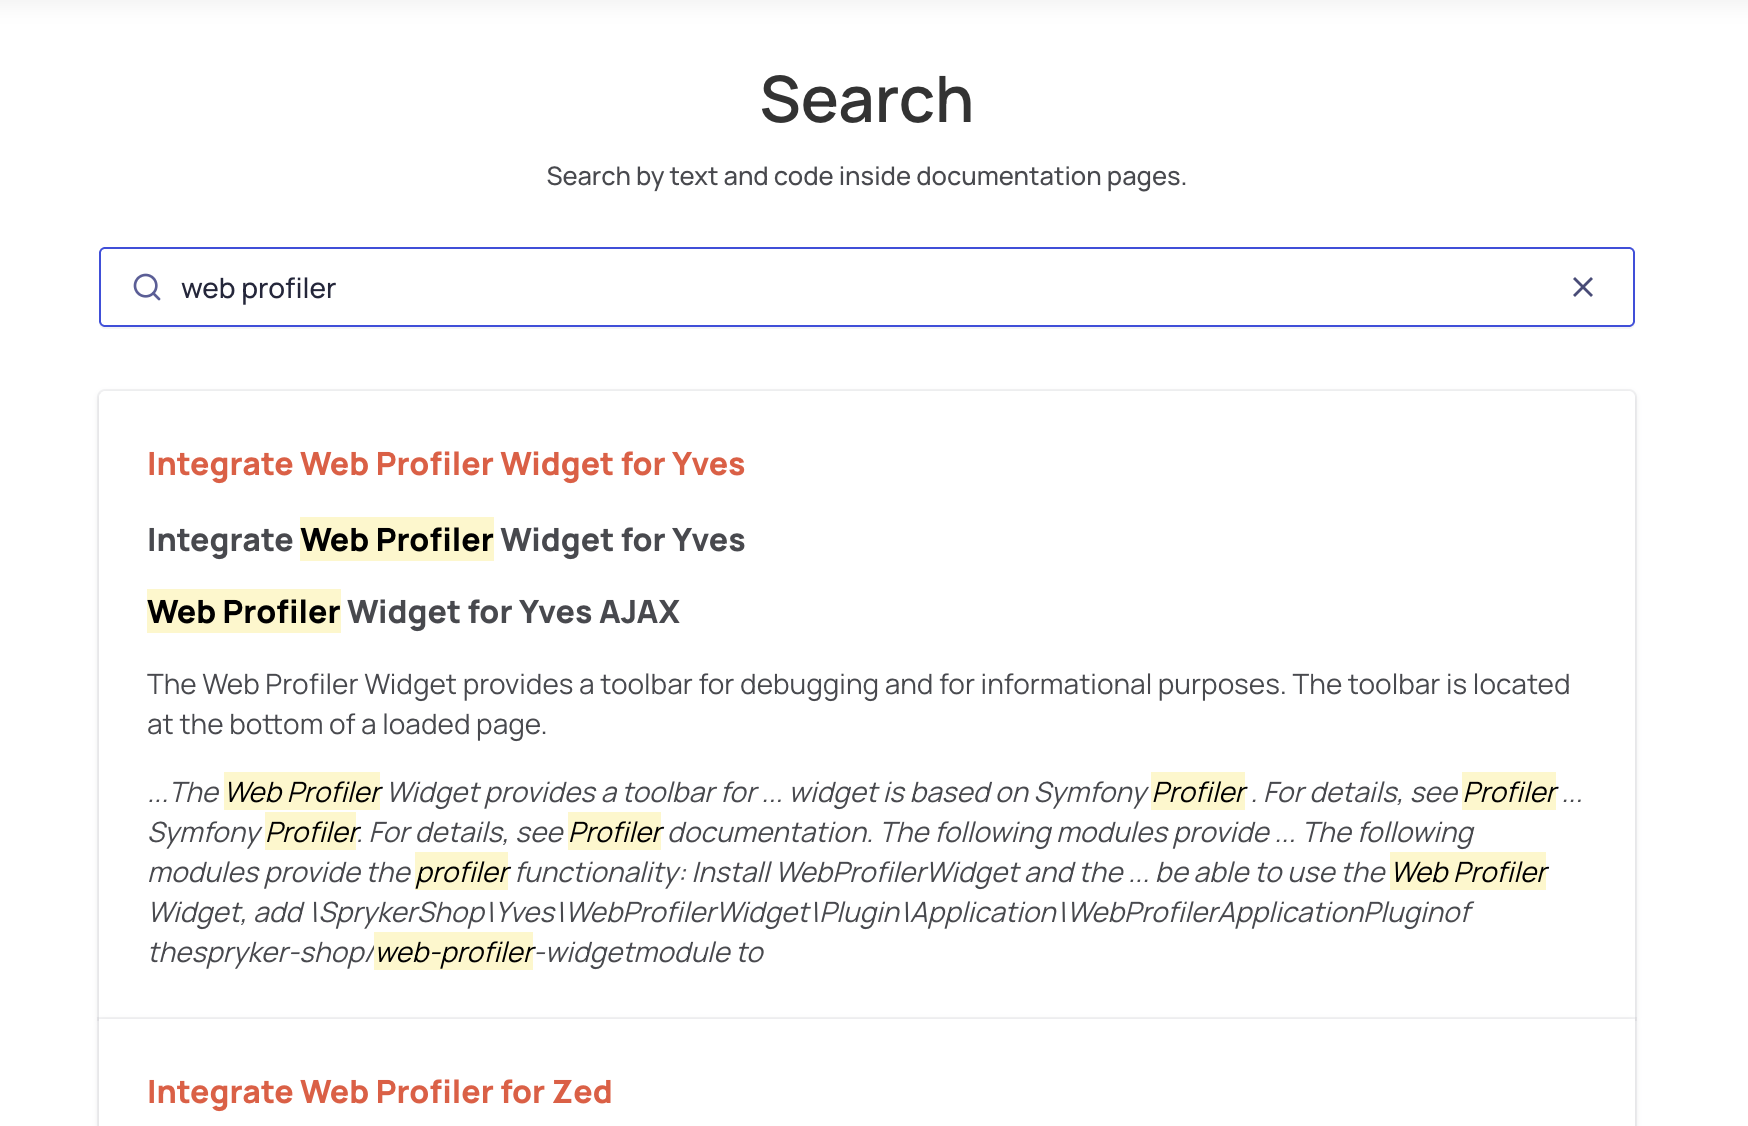
To find relevant documentation for your project, use the search.
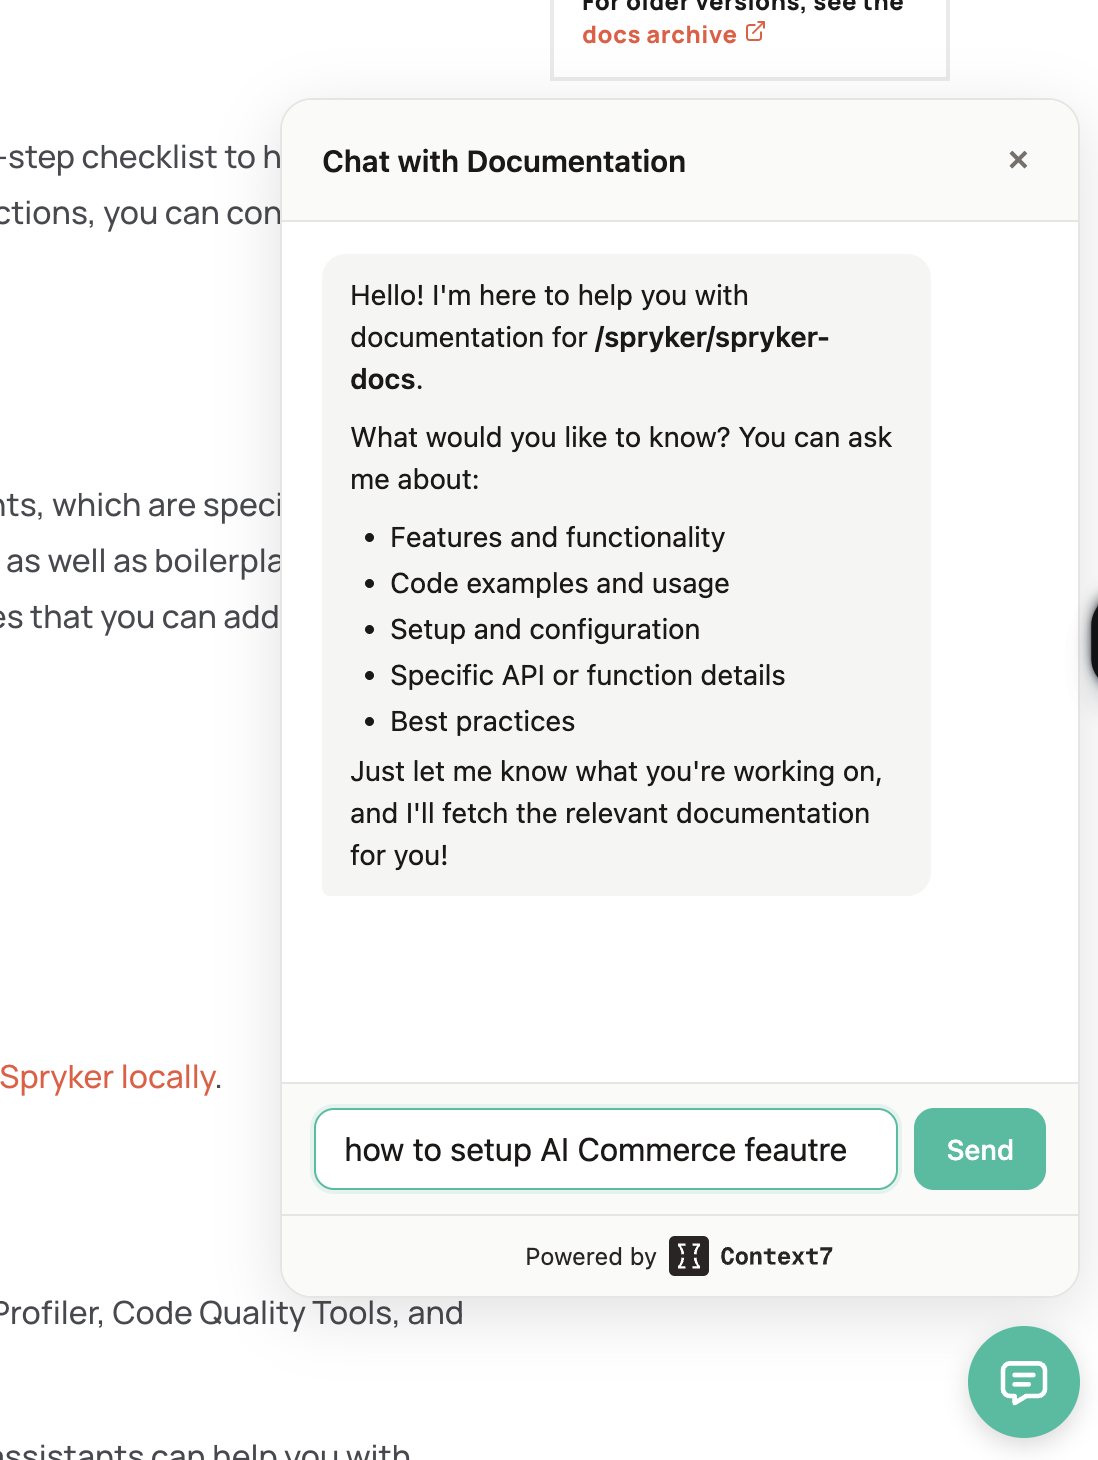
You can also ask questions in natural language instead of searching by keyword. The Context7 MCP Server indexes the Spryker public documentation and serves it to your AI assistant, so you get answers grounded in the current docs without leaving your development environment.
7. Configure project
The Project Starter Wizard performs everything in this step — the namespace, the local environment, and the project identity — from a single interview.
Configure project namespace
Use your own project namespace.
By default, project code is stored in the src/Pyz directory.
You can create your own namespace, such as src/BestProject, to keep your code fully separated from the Demo Shop.
This separation simplifies applying Demo Shop updates.
- Change the namespace in
composer.json:
{
  "autoload": {
    "psr-4": {
      "BestProject\\": "src/BestProject/"
    }
  }
}
- Change the namespace configurations in
config/Shared/config_default.php:
$config[KernelConstants::PROJECT_NAMESPACE] = 'BestProject';
$config[KernelConstants::PROJECT_NAMESPACES] = [
    'BestProject',
    'Pyz',
];
- Extend FE builder paths to include your own namespace following Extend builder paths (custom namespaces).
More information about upgradability.
Configure the local environment
To configure the local environment, change the following attributes in deploy.dev.yml:
- Namespace: this helps to avoid issues when you have two or more projects with the same names.
- Regions.
- Stores.
- Domains for the local environment.
- Domains for the services like RabbitMQ and Jenkins: this helps to keep all project links together.
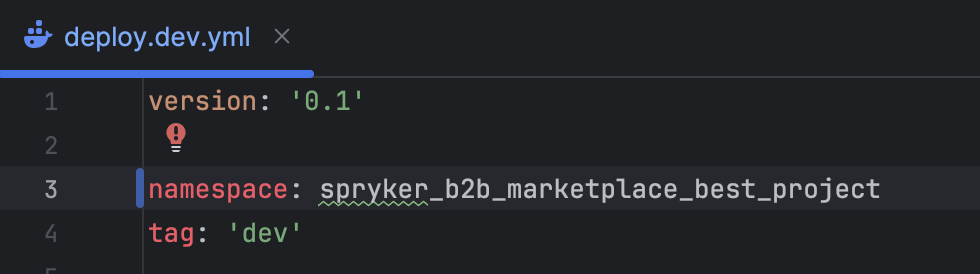
For more information about deploy files, see Deploy file.
Update the readme.md file
- Update the project installation description.
- Update the repository link.
- Remove any unused information, like Vagrant installation instructions if DevVM was not used.
- Consider moving the production information further down to make it easier for new developers to understand how to use the project.
8. Next steps
For advanced project configuration, including managing modules, cleaning up modules, and configuring services, see Post-Installation Configuration.
Thank you!
For submitting the form