
Installation
Edit on GitHubBefore you use AI-related tools, consult your legal department.
This page is the single installation reference for the AI Dev SDK. It covers every AI tool and every project state — a fresh clone, an installed project, or a running one. All other AI Dev SDK pages link here instead of repeating installation steps.
Prerequisites
- Claude Code is installed and you have a Claude account — a Pro or Max plan, or an API key. Claude Code has the most complete Spryker support; for Cursor, Windsurf, GitHub Copilot, OpenCode, or Codex CLI, see Set up with another assistant.
- Your project uses
docker/sdkversion 1.71.0 or later. Make sure your development environment is up to date before you install the AiDev module.
Set up with Claude Code
Step 1: Install the plugin
In your terminal, go to your project’s root directory and run claude. On the first launch, Claude Code asks you to log in and to trust the project folder — accept both. You are now at the Claude Code prompt; commands starting with / are typed there, one at a time:
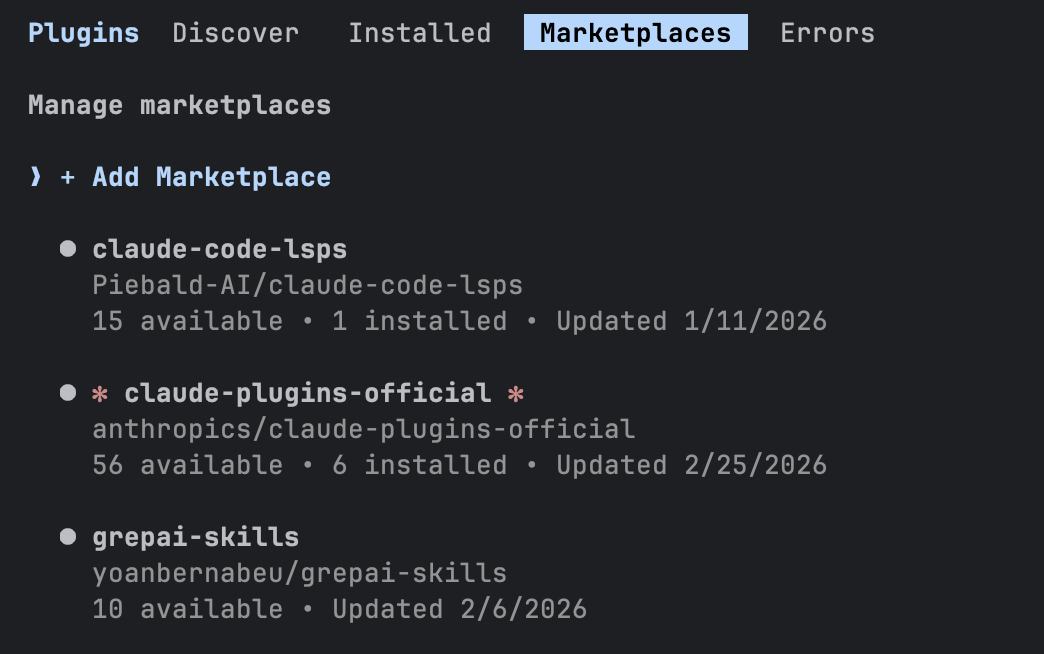
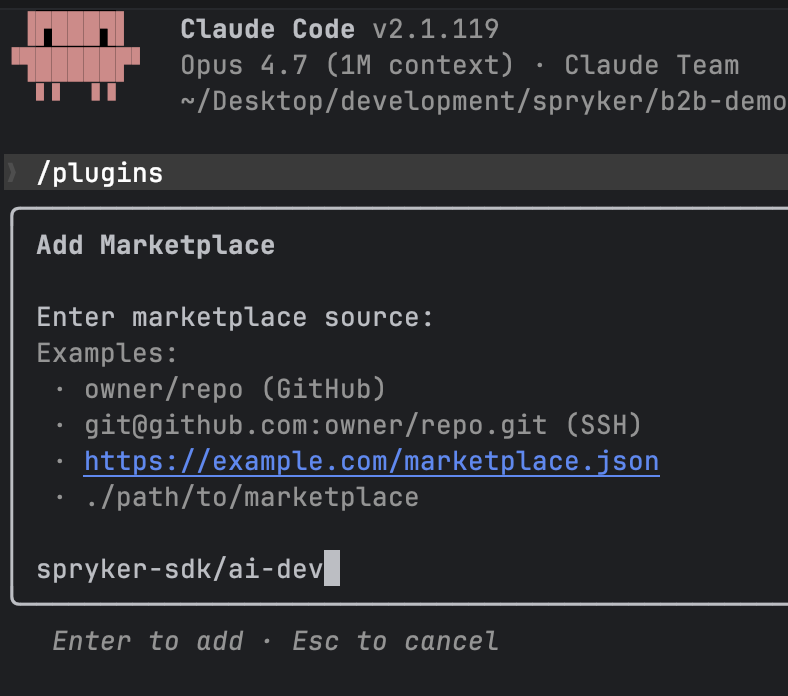
/plugin marketplace add spryker-sdk/ai-dev
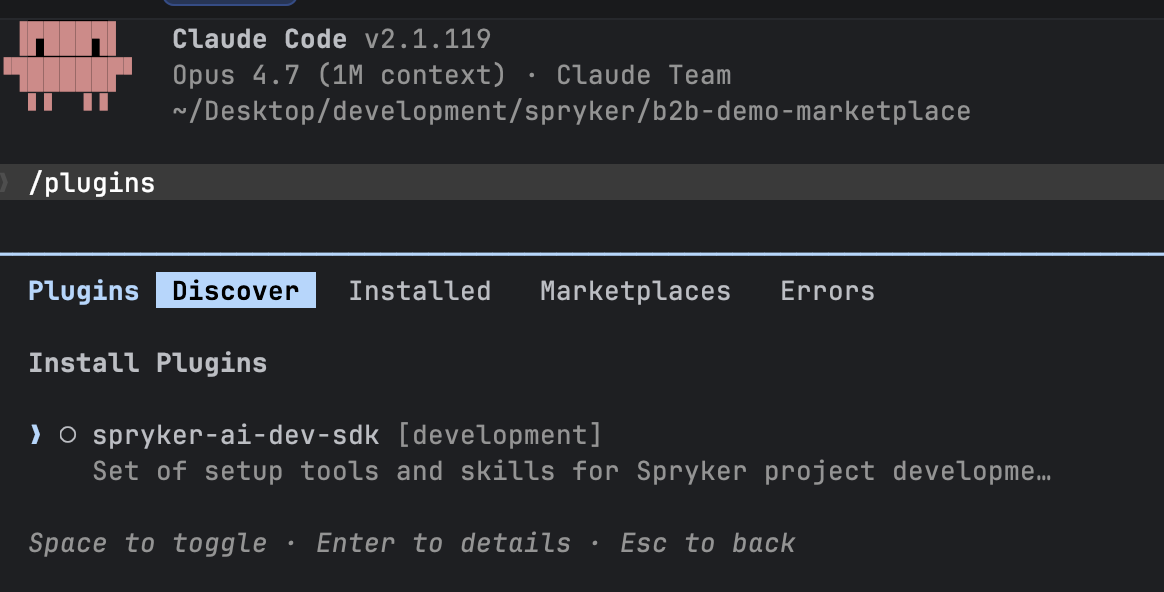
/plugin install spryker-ai-dev-sdk@spryker-plugins-official
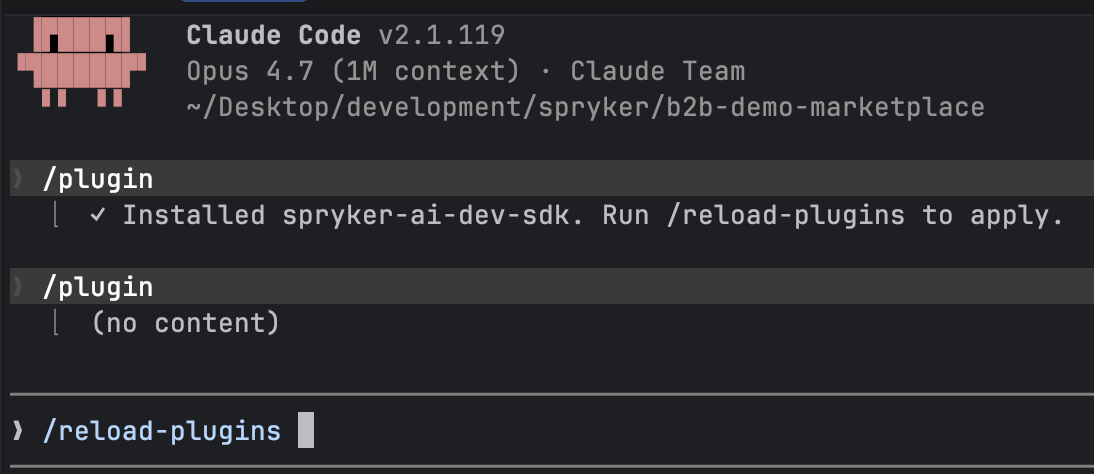
/reload-plugins
The /reload-plugins command activates the plugin’s skills and agents without restarting the session. Alternatively, restart the Claude Code session.
This step works regardless of your project’s state — the plugin installs into Claude Code itself, not into the project.
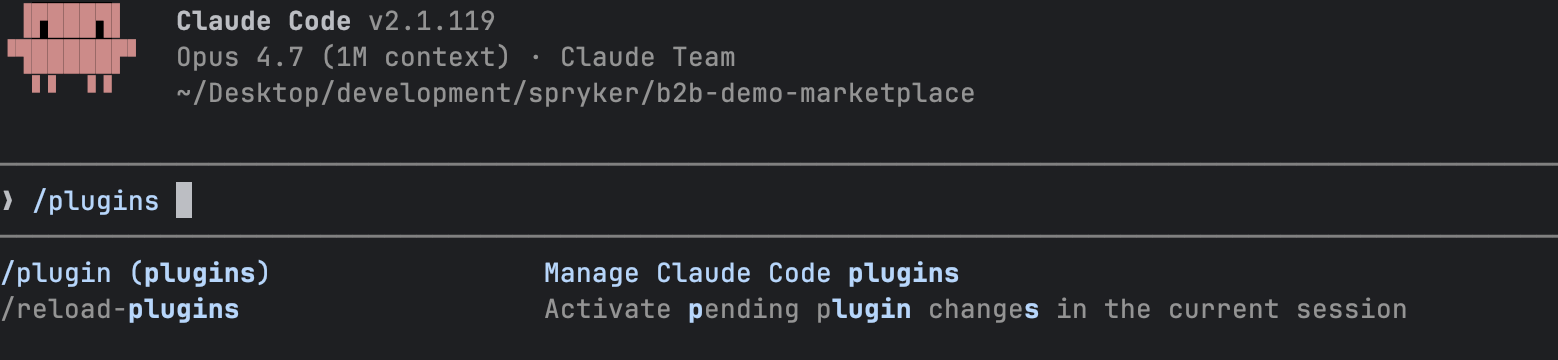
You can also do both steps through the interactive /plugin menu.
The plugin commands:
The Marketplaces tab:
Adding the Spryker marketplace:
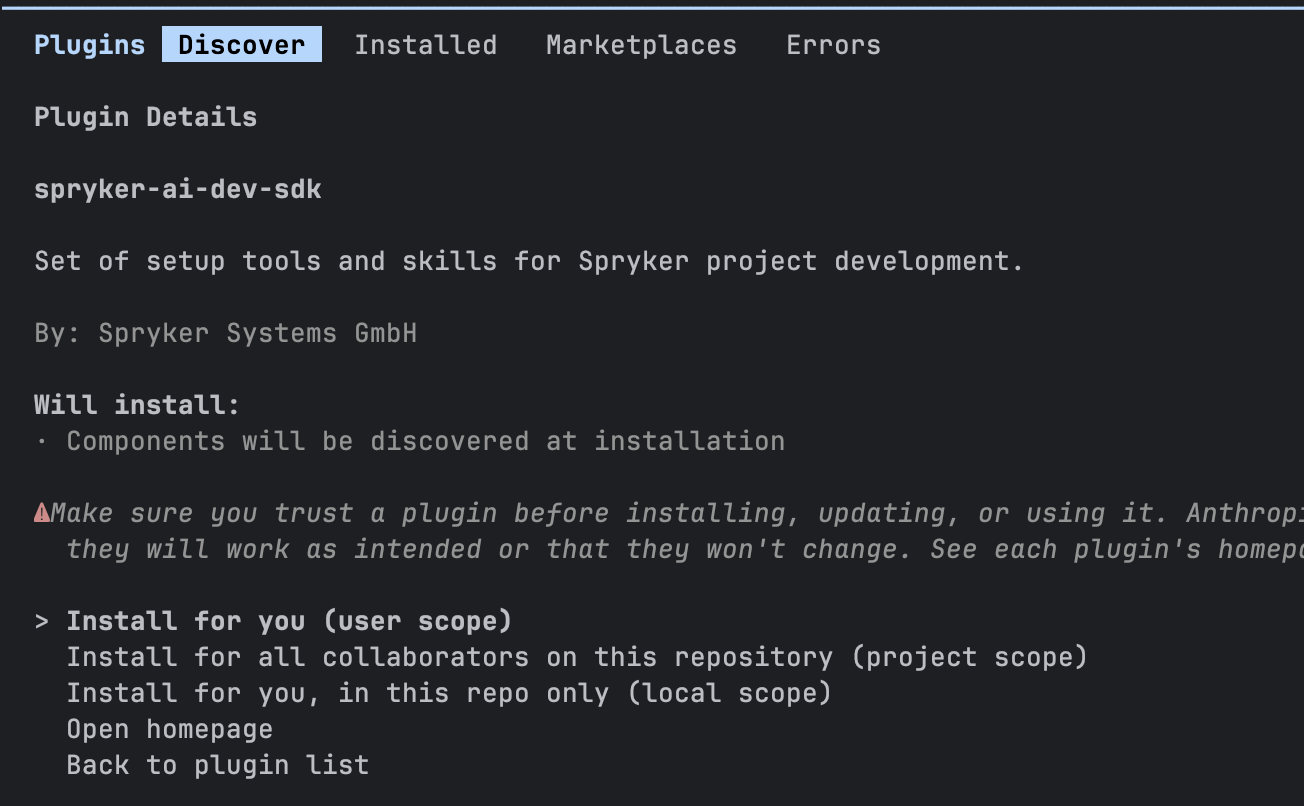
The plugin in the Discover tab:
Plugin details and installation scope:
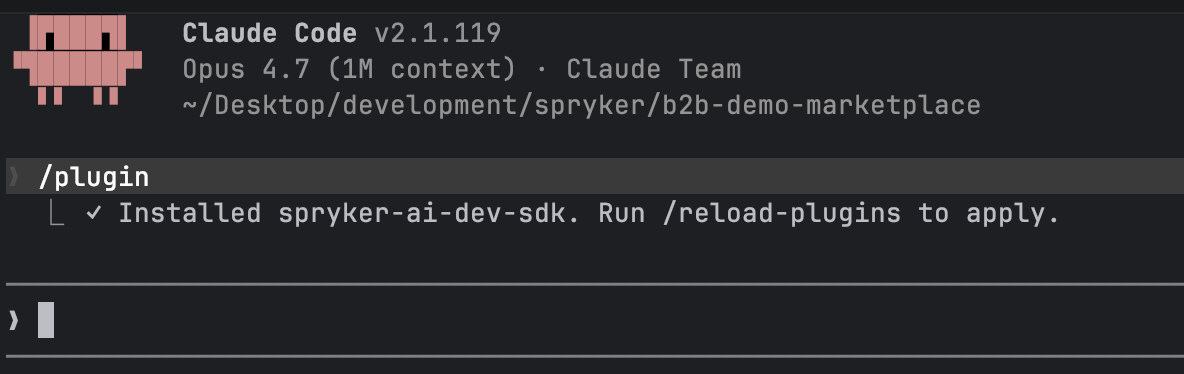
Installation confirmed:
Applying the plugin:
At the Claude Code prompt, type the following:
/spryker
The command list filters down to the Spryker skills, such as /spryker-ai-dev-sdk:ai-dev-setup. If nothing appears, quit Claude Code and run claude again.
All skills and agents — packaged, Spryker-aware workflows for building features, fixing bugs, and upgrading — are now available. This already covers work that does not touch a specific project; for work on your codebase and data, complete step 2 first.
Step 2: Add your project’s context
This step generates the Spryker coding rules (.claude/rules/) and the project context file (CLAUDE.md), and registers the MCP server — live access to your transfers, module interfaces, and OMS configuration.
Before you run it:
- Your project’s Docker environment must be running:
docker/sdk up, typed in a separate terminal, not at the Claude Code prompt. The skill runs Composer and console commands inside the containers. - On a fresh, un-booted clone, skip this step and return after the first boot — for example, after the Project Starter Wizard has set up and booted the project.
At the Claude Code prompt, run:
/spryker-ai-dev-sdk:ai-dev-setup
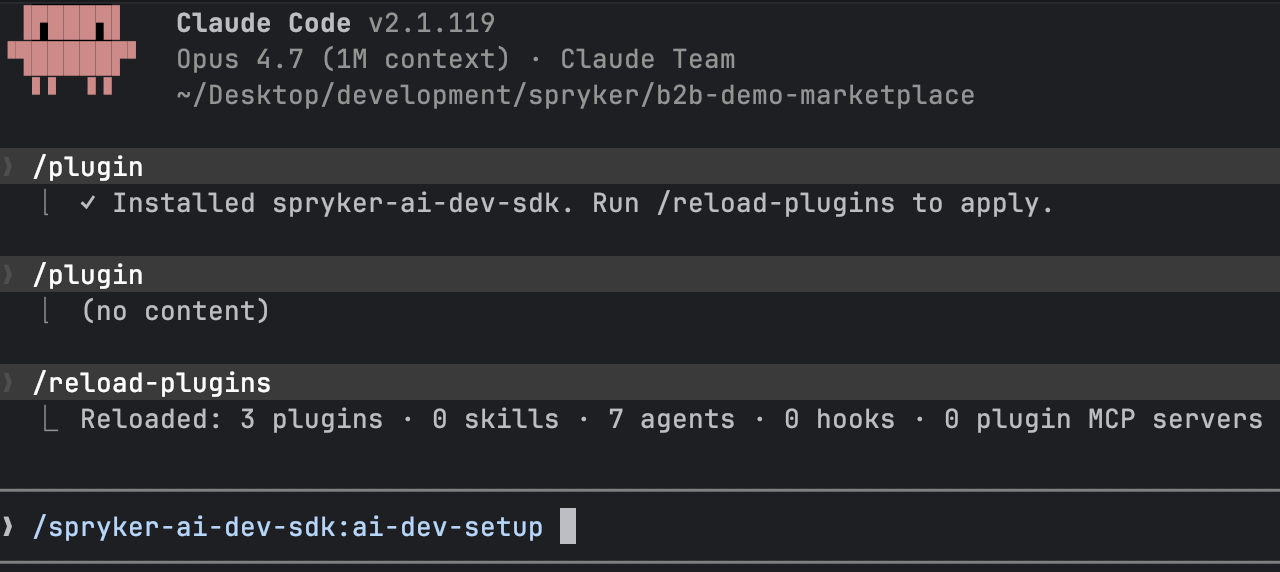
The skill checks your project’s state and handles every case:
- If the
spryker-sdk/ai-devmodule is not in your project yet, it installs it, wires up the console commands, registers the MCP server with Claude Code, and generates.claude/rules/andCLAUDE.md. The first run takes a few minutes while Composer runs, and Claude Code asks for permission before each command — see Permission requests. - If the module is already installed, it skips the installation and only refreshes the generated files, asking before it changes any existing file.
It is safe to re-run at any time.
The skill finishes with a report of what it changed, and of anything it suggests you set up next:
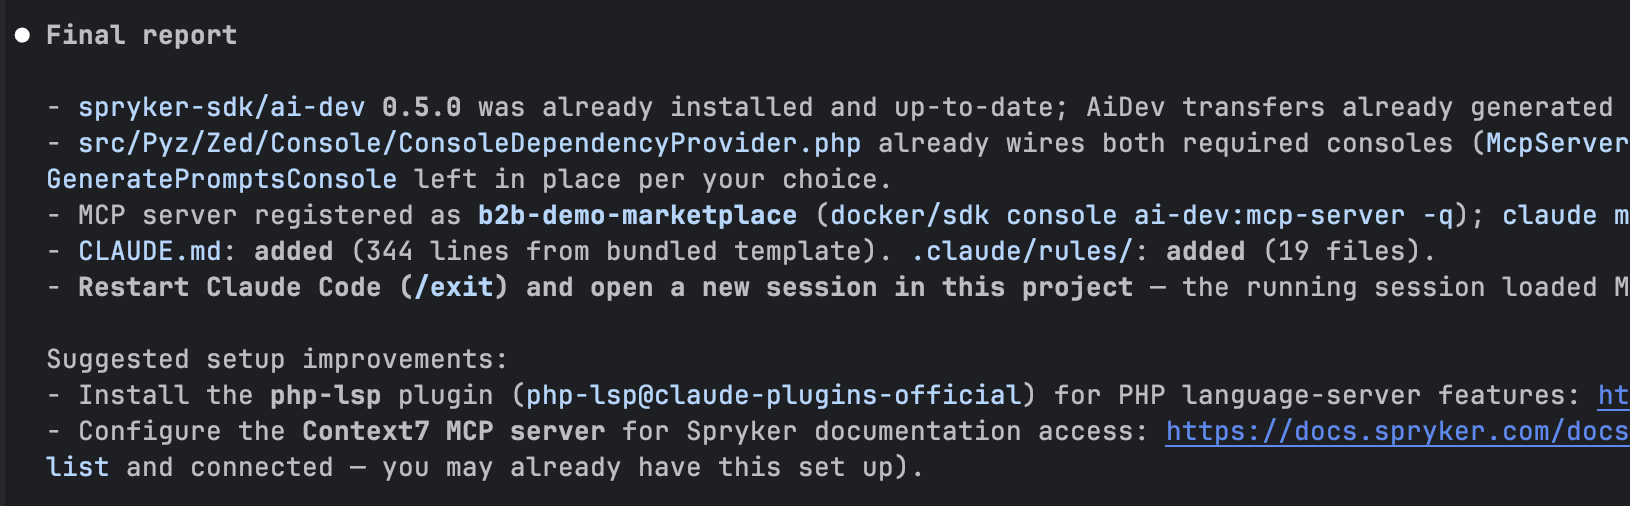
Restart Claude Code with /exit and open a new session in the project. The session that ran the setup started before the rules, the context file, and the MCP server existed, so it has not loaded them.
In your terminal, from the project root, check that the files were generated:
ls CLAUDE.md .claude/rules/
Then, in the new Claude Code session, check that it loads them:
/context
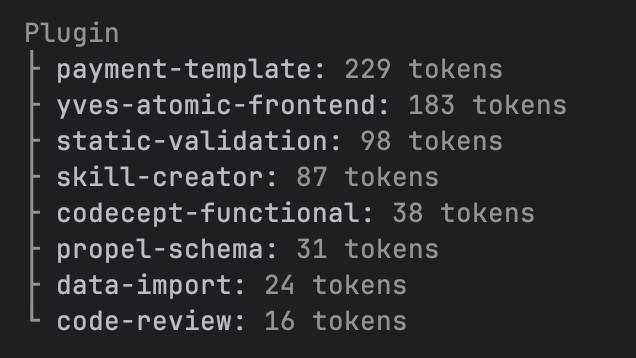
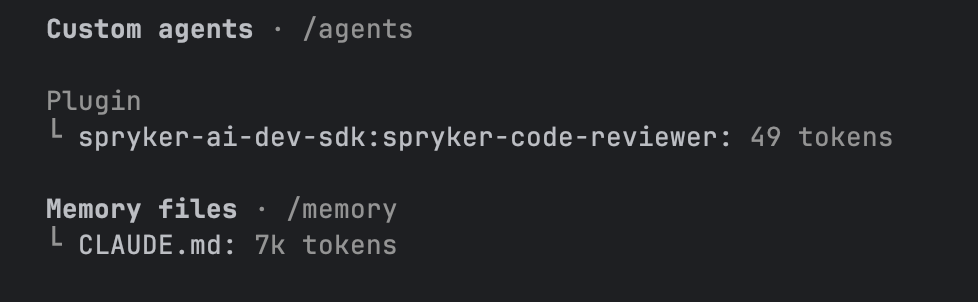
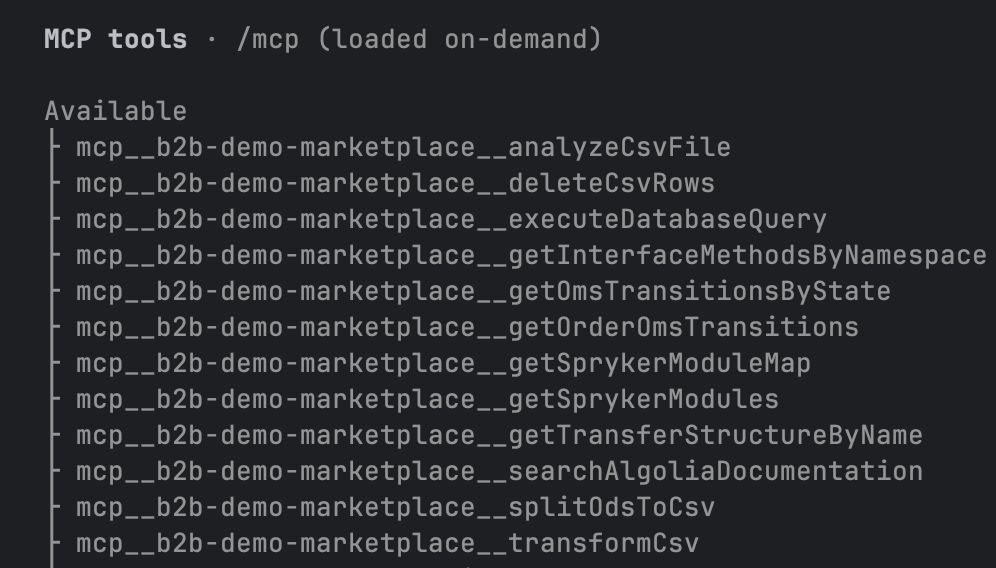
The /context output lists the plugin’s skills, the agents, the context file, and the MCP tools.
Plugin skills:
Agents and memory files:
MCP tools:
Permission requests
Claude Code asks for approval before it runs a command or changes a file, so expect prompts during setup and during the long workflows. How often it asks depends on the session’s permission mode — press Shift+Tab at the prompt to switch modes.
You can pre-approve the commands the SDK uses repeatedly, such as docker/sdk console and composer, and review the active rules with /permissions. For the modes, the rule syntax, and the settings files, see Configure permissions and Choose a permission mode in the Claude Code documentation.
Set up with another assistant
This path requires an installed project with the Docker environment running (docker/sdk up).
-
If
spryker-sdk/ai-devis not in your project’scomposer.jsonyet, install it:docker/sdk cli composer require spryker-sdk/ai-dev --dev console transfer:generate exitIf it is already there, update it to the latest version instead:
docker/sdk cli composer update spryker-sdk/ai-dev console transfer:generate exit -
Register the console commands in
src/Pyz/Zed/Console/ConsoleDependencyProvider.php. Skip this step if the file already registersMcpServerConsole. Theclass_exists()guards keep the project bootable on environments where the dev dependency is absent, such as production:use SprykerSdk\Zed\AiDev\Communication\Console\AiToolSetupConsole; use SprykerSdk\Zed\AiDev\Communication\Console\McpServerConsole; protected function getConsoleCommands(Container $container): array { ... if (class_exists(McpServerConsole::class)) { $commands[] = new McpServerConsole(); } if (class_exists(AiToolSetupConsole::class)) { $commands[] = new AiToolSetupConsole(); } ... } -
Generate the rules, context file, and skills with the
ai-dev:setupconsole command:docker/sdk console ai-dev:setupThe command detects your assistant, asks you to confirm or select a different one, and writes into that tool’s directories — see Generated files per AI tool. It is safe to re-run: it refreshes previously generated files from the latest upstream content.
Verify: in your terminal, from the project root, check that your assistant’s directory was created. For example, for Cursor:
ls .cursor/rules/For Windsurf, check
.windsurf/rules/instead. Generated files per AI tool lists the directory for each assistant. -
Register the MCP server in your assistant — see Register the MCP server.
Generated files per AI tool
For the selected tool, ai-dev:setup generates the following:
- Rules: Spryker’s coding conventions and architectural guidelines.
- Agents/context file: project-specific context for AI agents.
- Skills: reusable, task-specific AI skill files.
The command supports two output modes:
- Ready to use: files are generated directly in the tool-specific directories listed below.
- Example: files are generated in example directories — for example,
.claude/rules-example/instead of.claude/rules/. Rename the directories when you are ready to use them.
| AI tool | Rules directory | Agents/context file | Skills directory |
|---|---|---|---|
| Claude Code | .claude/rules/ |
CLAUDE.md |
.claude/skills/ |
| Windsurf | .windsurf/rules/ |
.windsurfrules |
.windsurf/skills/ |
| GitHub Copilot | .github/instructions/ |
.github/copilot-instructions.md |
.github/skills/ |
| Cursor | .cursor/rules/ |
AGENTS.md |
.cursor/skills/ |
| OpenCode | .opencode/rules/ |
AGENTS.md |
.agents/skills/ |
| Codex CLI | Not supported — see below | AGENTS.md |
.agents/skills/ |
Codex CLI does not have a native rules format. When you select it, the command offers to generate rules in another tool’s format instead and places them in that tool’s rules directory.
If you use Docker sync, the /.git* entry in .dockersyncignore also excludes the .github folder, which prevents Copilot-generated files from being available inside the container. To fix this, add the following line to .dockersyncignore after the /.git* entry:
!/.github
Register the MCP server
The MCP server runs inside your project’s Docker container through the ai-dev:mcp-server console command:
docker/sdk console ai-dev:mcp-server -q
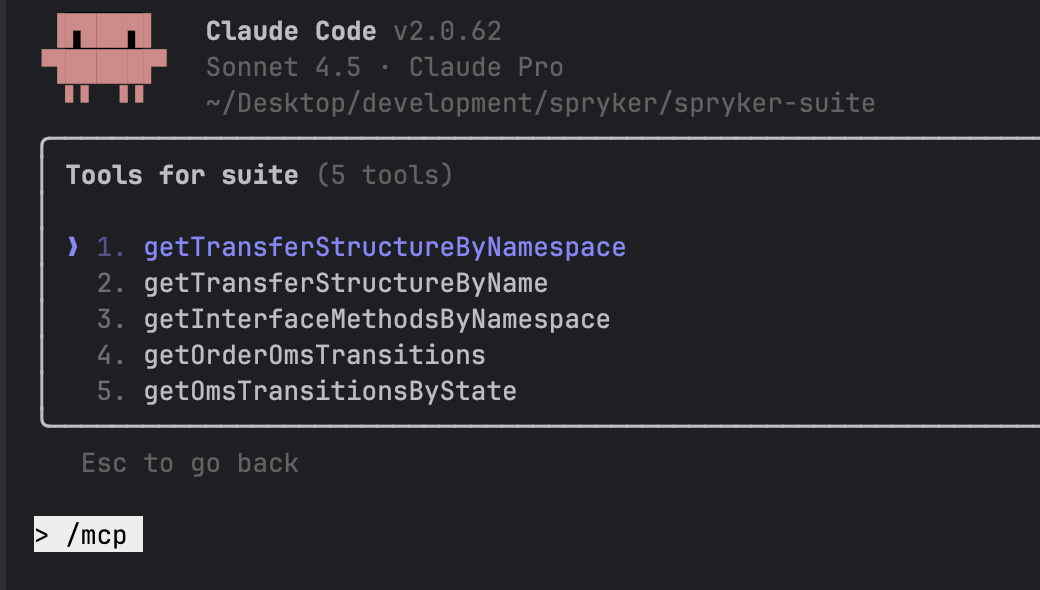
The -q flag (quiet mode) suppresses unnecessary output, which is important for the MCP stdio transport. For the tools the server exposes, see AI Dev MCP Server.
Register that command in your assistant, with the executable and the arguments as separate fields. The following sections show the most common assistants; adapt one of them for your tool.
Claude Code
If you set up your project with the ai-dev-setup skill, the MCP server is already registered — skip this section.
Otherwise, go to your Spryker project directory and run:
claude mcp add spryker-project "$(pwd)/docker/sdk" -- console ai-dev:mcp-server -q
This command:
- Adds the MCP server configuration to Claude Code
- Uses the current project directory path automatically
- Configures the server to run in quiet mode
Quote only the executable and keep the arguments after the -- separator. Passing everything as one quoted string stores the whole string as the executable path, and the server fails to start with Failed to connect — ENOENT: no such file or directory. If you registered it that way, remove the entry with claude mcp remove spryker-project and add it again as shown.
Claude Code now has access to Spryker-specific tools through the MCP server.
Claude Desktop
-
Open Claude Desktop settings.
-
Go to the Developer section.
-
Add the following configuration to
claude_desktop_config.json:{ "mcpServers": { "spryker-project": { "command": "/Users/username/projects/spryker-project/docker/sdk", "args": [ "console", "ai-dev:mcp-server", "-q" ] } } } -
Restart Claude Desktop.
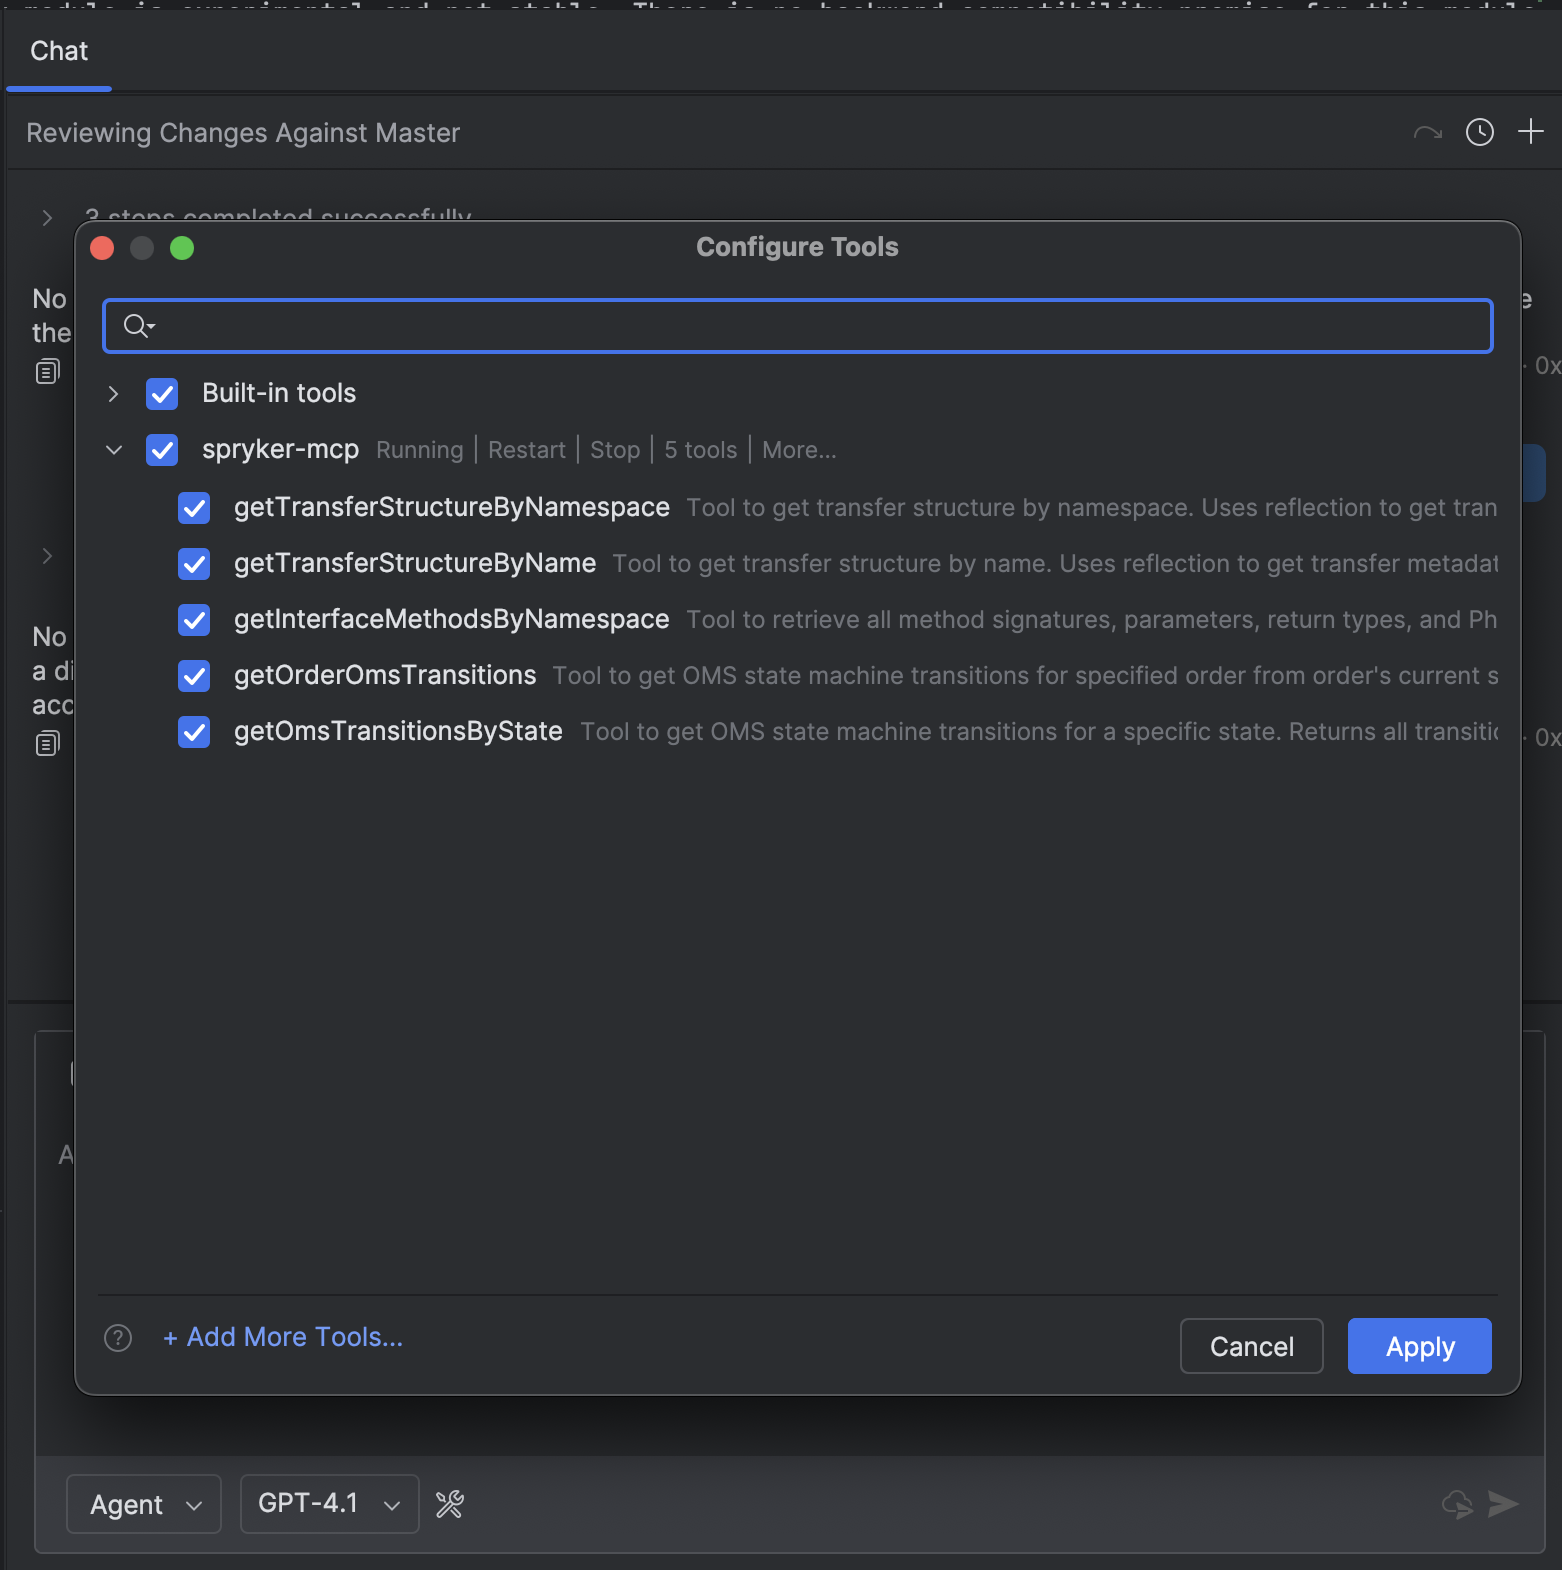
GitHub Copilot in PHPStorm
-
Open PHPStorm settings.
-
Go to Tools > GitHub Copilot > MCP Servers.
-
Add a new server configuration with the following JSON:
{ "servers": { "spryker-project": { "type": "stdio", "command": "/Users/username/projects/spryker-project/docker/sdk", "args": [ "console", "ai-dev:mcp-server", "-q" ] } }, "inputs": [] } -
Restart PHPStorm.
MCP support in GitHub Copilot for PHPStorm requires PHPStorm version 2024.3 or later. Check your IDE version and update if necessary.
Try it
You do not need to learn commands — describe what you want in your own words, and the assistant picks the matching skill. Some first prompts to try:
- “Write a product requirement document for a minimum order value per store” — produces a research-grounded spec before any code
- “Build this feature: …” — walks a requirement through implementation, tests, and review with the Customization Workflow
- “Fix this bug: customers can check out with an empty cart” — drives the Bugfix Workflow from reproduction to a validated fix
- “Review my staged changes against Spryker coding standards”
- “Turn this demoshop into our project” — on a fresh clone, starts the Project Starter Wizard
Where to go next
- Workflows, Skills, and Agents — everything the SDK ships and what each piece does
- Claude Code — the plugin in detail, slash commands, and optional enhancements
- AI Dev MCP Server — the available MCP tools, extension points, and debugging
Thank you!
For submitting the form