AI Dev SDK Overview
Edit on GitHubThe AiDev module is experimental and not stable. There is no backward compatibility promise for this module. We welcome your feedback and contributions as we continue to develop and improve this module.
This module requires ^1.71.0 version of docker/sdk for proper usage.
Make sure your development environment is up to date before installing the AiDev module.
This document describes how to integrate and use the AiDev module to connect your Spryker application to AI development tools through the Model Context Protocol (MCP).
Overview
The AiDev module provides an MCP server that enables AI assistants to interact with your Spryker application. It exposes Spryker-specific information through MCP tools, allowing AI assistants to better understand and work with your codebase.
The module includes:
- MCP Server: A console command that runs an MCP server to communicate with AI assistants
- Extension Points: Plugin interfaces for adding custom MCP tools
- Built-in Tools: Pre-configured tools for accessing Spryker transfers, interfaces, and OMS information
Console commands
The AiDev module provides the following console commands:
MCP Server Command
The ai-dev:mcp-server command starts an MCP server that allows AI assistants to interact with your Spryker application.
docker/sdk console ai-dev:mcp-server -q
This command:
- Starts an MCP server using stdio transport
- Registers all configured MCP tool plugins
- Listens for requests from AI assistants
Usage: This command is typically configured in AI assistant tools (like Claude Desktop) to enable them to access Spryker-specific information.
Setup Command
The ai-dev:setup command sets up AI tooling for your Spryker project. It generates rules, an agents/context file, and skills — all tailored to the selected AI tool.
docker/sdk console ai-dev:setup
The command automatically detects the AI tool installed in your project and prompts you to confirm or select a different one. It then generates the following for the selected tool:
- Rules: Coding conventions and architectural guidelines.
- Agents/context file: Project-specific context for AI agents.
- Skills: Reusable task-specific AI skill files.
Output modes
The command supports two output modes:
- Ready to use: Files are generated directly in the tool-specific directories listed in the table below.
- Example: Files are generated in example directories — for example,
.claude/rules-example/instead of.claude/rules/. Rename the directories when ready to use.
Output locations by AI tool
| AI tool | Rules directory | Agents/context file | Skills directory |
|---|---|---|---|
| Claude Code | .claude/rules/ |
CLAUDE.md |
.claude/skills/ |
| Windsurf | .windsurf/rules/ |
.windsurfrules |
.windsurf/skills/ |
| GitHub Copilot | .github/instructions/ |
.github/copilot-instructions.md |
.github/skills/ |
| Cursor | .cursor/rules/ |
AGENTS.md |
.cursor/skills/ |
| OpenCode | .opencode/rules/ |
AGENTS.md |
.agents/skills/ |
| Codex CLI | Not supported — see below | AGENTS.md |
.agents/skills/ |
Codex CLI does not have a native rules format. When you select it, the command offers to generate rules in another tool’s format instead and places them in that tool’s rules directory.
If you use Docker sync, the /.git* entry in .dockersyncignore also excludes the .github folder, which prevents Copilot-generated files from being available inside the container. To fix this, add the following line to .dockersyncignore after the /.git* entry:
!/.github
Usage: Run this command once when setting up AI tooling for a project.
Skills and agents
The AI Dev SDK delivers a set of Spryker-aware skills and agents — workflows and specialist sub-agents that the AI tool invokes on demand. ai-dev:setup writes them into the tool-specific directories shown above; the Claude Code plugin installs the same set through the marketplace. See AI Dev SDK Skills and Agents for the full list and what each one does, and AI Dev SDK Customization Workflow for a walkthrough of the end-to-end customization flow these pieces compose.
Claude Code plugin
The AI Dev SDK ships a Claude Code plugin — spryker-ai-dev-sdk — through the spryker-plugins-official marketplace. See Claude Code Plugin for installation instructions.
Extension points
The AiDev module provides plugin interfaces for extending the MCP server with custom functionality:
AiDevMcpToolPluginInterface
Implement this interface to add custom MCP tools that AI assistants can use to query or interact with your application.
Interface location: SprykerSdk\Zed\AiDev\Dependency\AiDevMcpToolPluginInterface
Integration: Register your tool plugins in AiDevDependencyProvider::getMcpToolPlugins():
<?php

namespace Pyz\Zed\AiDev;

use SprykerSdk\Zed\AiDev\AiDevDependencyProvider as SprykerAiDevDependencyProvider;
use Pyz\Zed\AiDev\Communication\Plugins\CustomAiDevMcpToolPlugin;

class AiDevDependencyProvider extends SprykerAiDevDependencyProvider
{
    /**
     * @return array<\SprykerSdk\Zed\AiDev\Dependency\AiDevMcpToolPluginInterface>
     */
    protected function getMcpToolPlugins(): array
    {
        return array_merge(parent::getMcpToolPlugins(), [
            new CustomAiDevMcpToolPlugin(),
        ]);
    }
}
Configuration
The AiDev module can be configured through the AiDevConfig class. Refer to the module’s configuration class for available options and their default values.
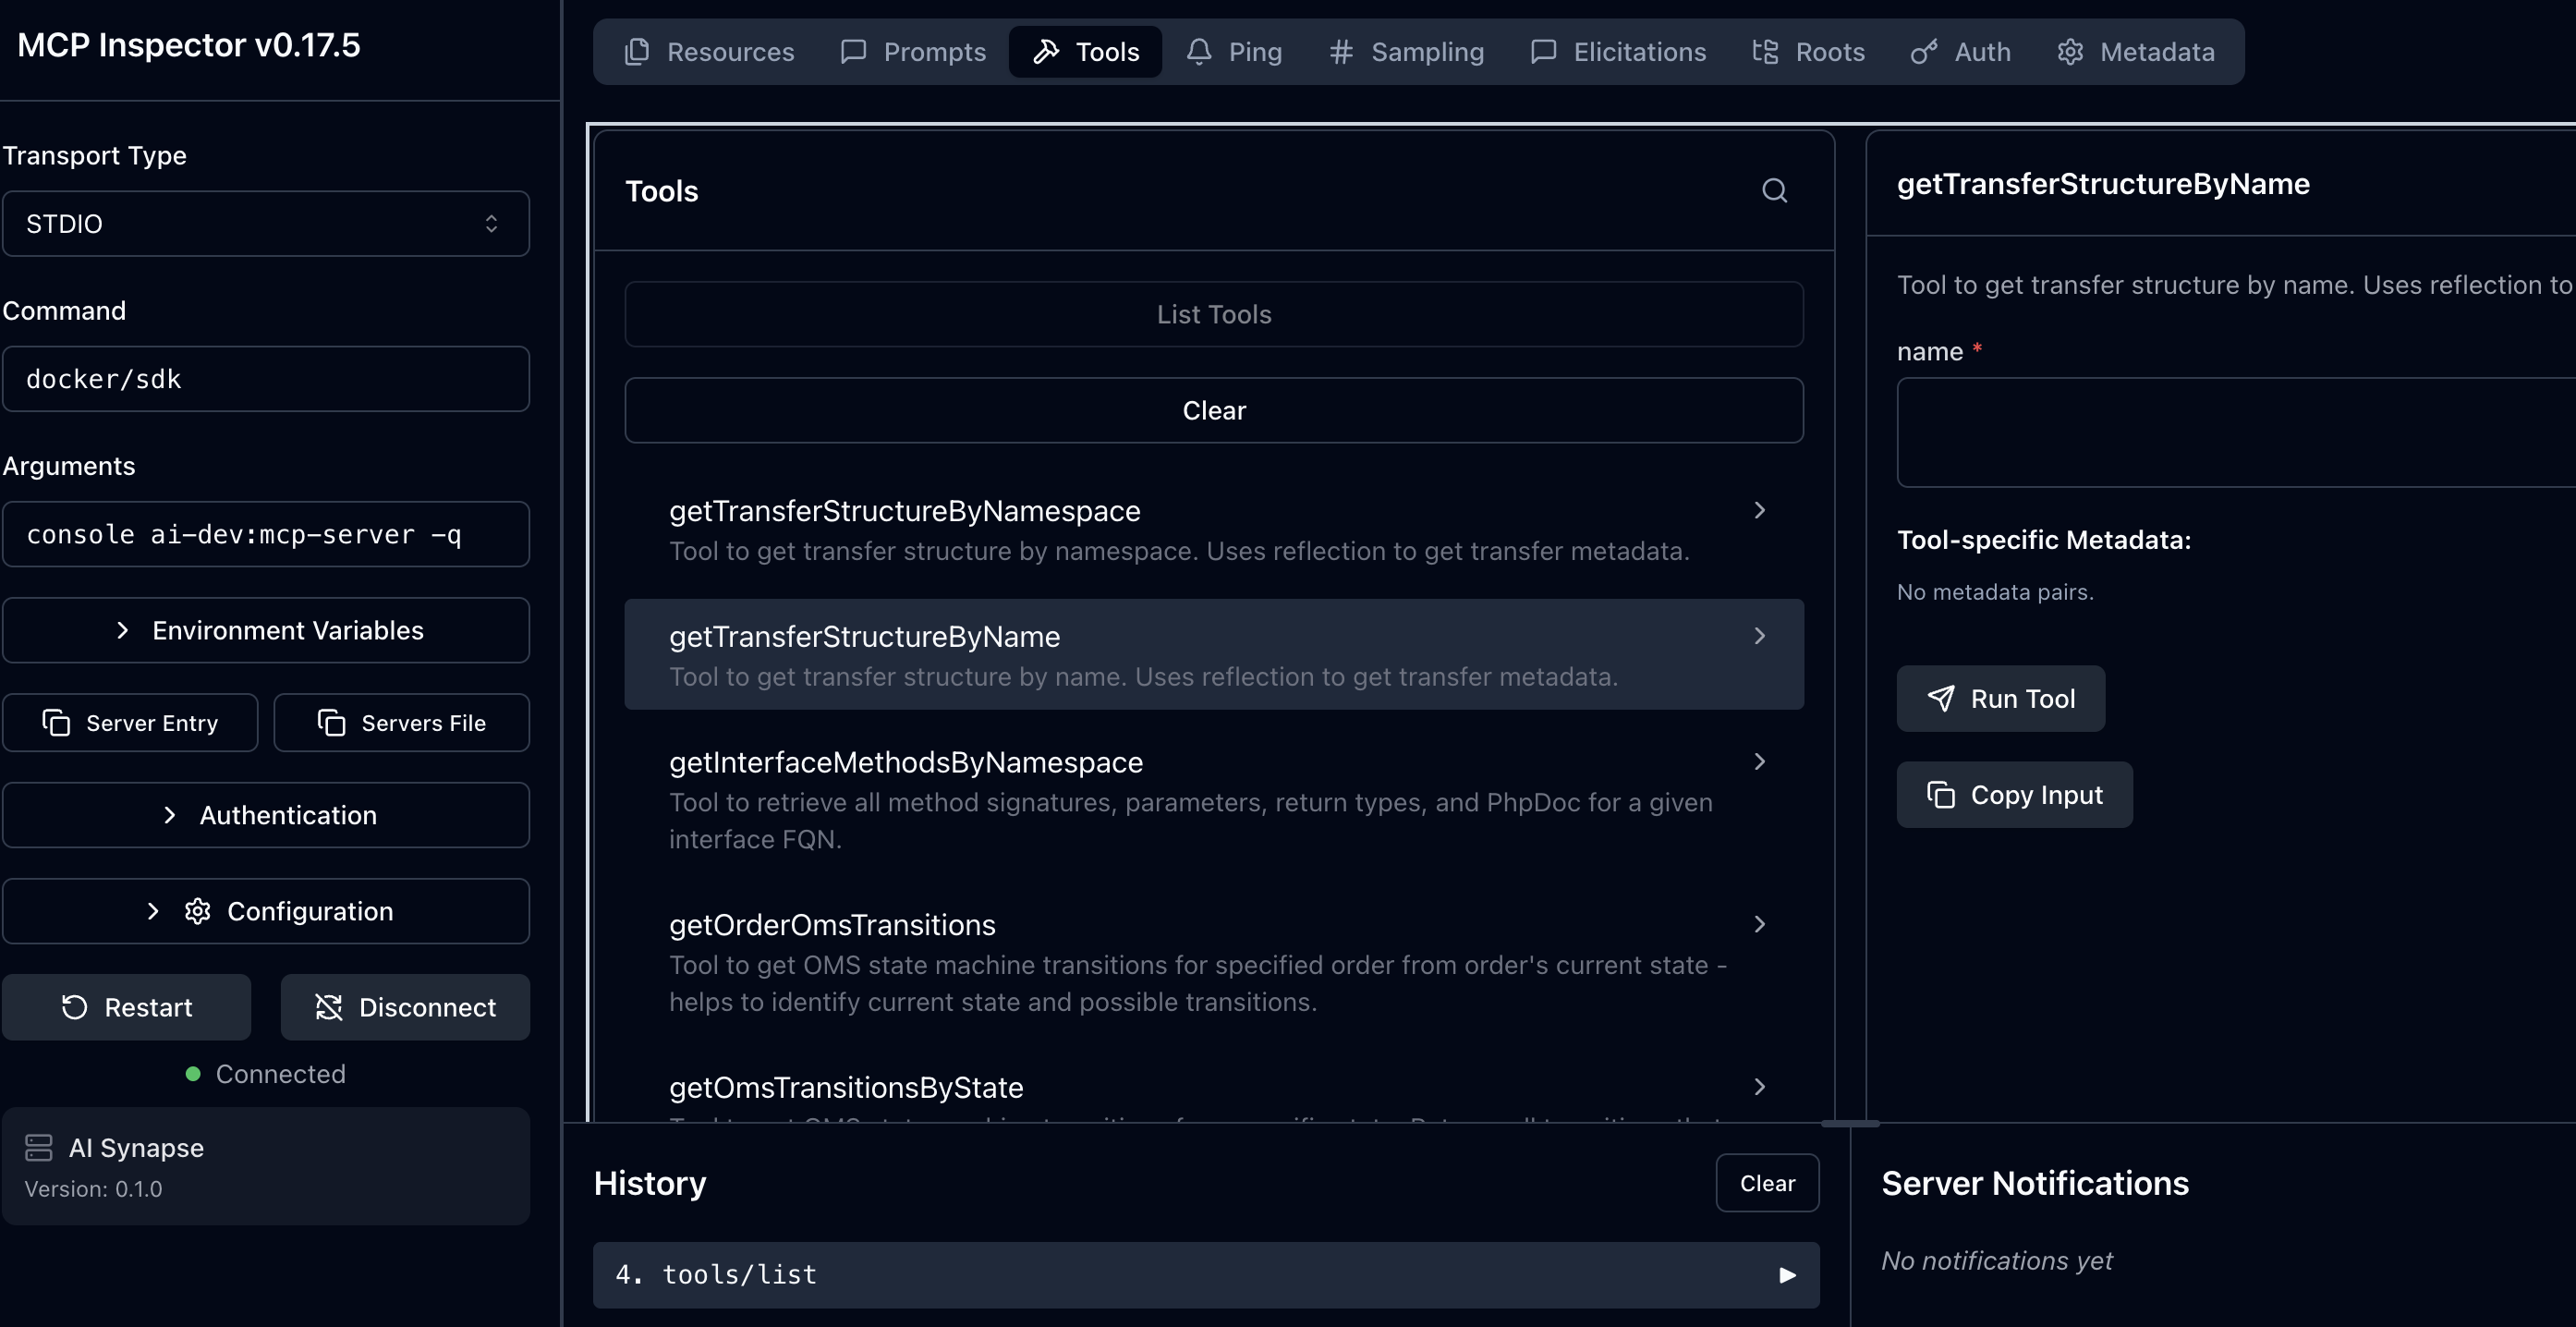
Debugging the MCP server
Before connecting your MCP server to AI assistants, you can test and debug it using the MCP Inspector tool. The inspector provides a web interface to interact with your MCP server, test tools, and verify that everything works correctly.
Using the MCP Inspector
Navigate to your Spryker project directory and run:
npx @modelcontextprotocol/inspector docker/sdk console ai-dev:mcp-server -q
This command:
- Starts the MCP Inspector in your browser
- Connects to your local MCP server
- Displays all available tools
- Lets you test tool calls interactively
With Xdebug:
npx @modelcontextprotocol/inspector docker/sdk cli -x console ai-dev:mcp-server
The MCP Inspector requires Node.js to be installed on your system. The npx command will automatically download and run the inspector tool without requiring a global installation.
Thank you!
For submitting the form