AI Dev MCP Server
Edit on GitHubThis document describes how to configure and use the AiDev MCP server to connect AI assistants to your Spryker application.
About Model Context Protocol (MCP)
The Model Context Protocol (MCP) is an open-source standard for connecting AI applications to external systems. For Spryker developers, MCP allows AI assistants like Claude or Copilot to understand your project, improving the quality of AI-generated code and recommendations.
Learn more about MCP at modelcontextprotocol.io.
Configure the MCP server
The AiDev module provides an MCP server through the ai-dev:mcp-server console command. To configure it for use with AI assistants, you need the full path to your project and the Docker SDK command.
docker/sdk console ai-dev:mcp-server -q
The -q flag (quiet mode) suppresses unnecessary output, which is important for the MCP stdio transport.
Integration with AI assistants
Claude Code
For Claude Code CLI, add the MCP server using the command line.
Navigate to your Spryker project directory and run:
claude mcp add spryker-project "$(pwd)/docker/sdk console ai-dev:mcp-server -q"
This command:
- Adds the MCP server configuration to Claude Code
- Uses the current project directory path automatically
- Configures the server to run in quiet mode
Claude Code will now have access to Spryker-specific tools through the MCP server.

Claude Desktop
For Claude Desktop application, configure the MCP server in the application settings.
- Open Claude Desktop settings
- Navigate to the Developer section
- Add the following configuration to
claude_desktop_config.json:
{
  "mcpServers": {
    "spryker-ai-dev": {
      "command": "/Users/username/projects/spryker-project/docker/sdk",
      "args": [
        "console",
        "ai-dev:mcp-server",
        "-q"
      ]
    }
  }
}
- Restart Claude Desktop
GitHub Copilot in PHPStorm
For GitHub Copilot Chat in PHPStorm with MCP support (requires PHPStorm 2024.3+):
- Open PHPStorm Settings/Preferences
- Navigate to Tools > GitHub Copilot > MCP Servers
- Add a new server configuration with the following JSON:
{
  "servers": {
    "spryker-mcp": {
      "type": "stdio",
      "command": "/Users/username/projects/spryker-project/docker/sdk",
      "args": [
        "console",
        "ai-dev:mcp-server",
        "-q"
      ]
    }
  },
  "inputs": []
}
- Restart PHPStorm
MCP support in GitHub Copilot for PHPStorm requires PHPStorm version 2024.3 or later. Check your IDE version and update if necessary.
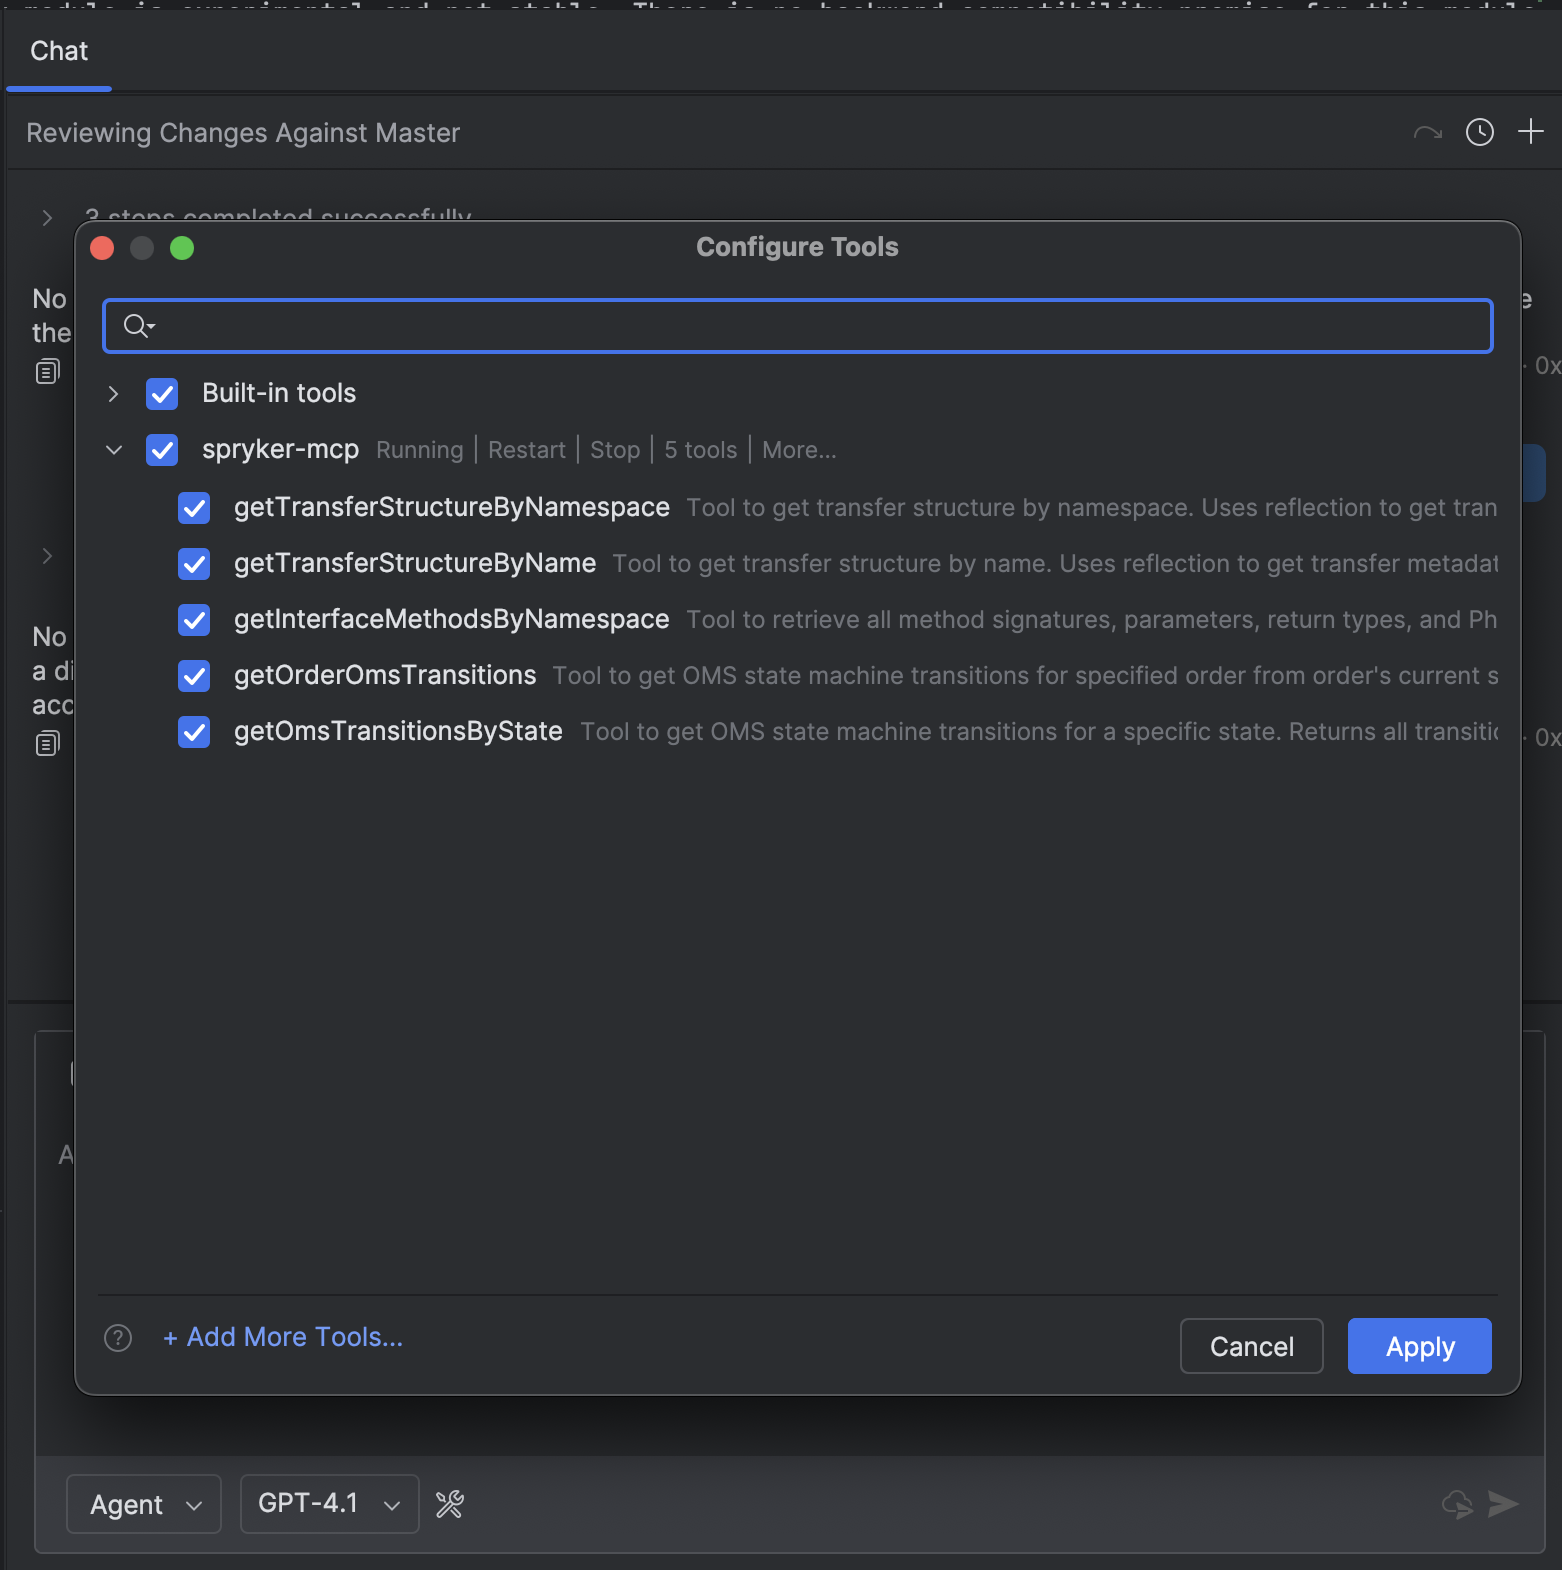
Available MCP tools
The AiDev module provides the following built-in tools that AI assistants can use:
| Tool name | Description |
|---|---|
getTransferStructureByName |
Retrieves the structure of a Spryker transfer object by its name. Returns all properties with their types and metadata. |
getTransferStructureByNamespace |
Retrieves the structure of a Spryker transfer object by its fully qualified namespace. |
getInterfaceMethodsByNamespace |
Retrieves all method signatures, parameters, return types, and PHPDoc for a given interface FQN (Fully Qualified Name). |
getOmsTransitionsByState |
Retrieves OMS state machine transitions for a specific state. Returns all transitions that start from the given state, optionally filtered by process name. |
getOrderOmsTransitions |
Retrieves OMS state machine transitions for a specified order from the order’s current state. Helps identify the current state and possible transitions. |
executeQuery |
Executes read-only database queries (SELECT, SHOW, DESCRIBE, EXPLAIN) for accessing project data without modification capabilities. |
getSprykerModules |
Lists all available Spryker modules from project and vendor directories. |
getSprykerModuleMap |
Retrieves detailed module metadata including class paths, method signatures, and extension points. |
searchAlgoliaDocumentation |
Enables keyword-based Spryker documentation search through Algolia integration. |
analyzeCsvFile |
Analyzes CSV file structure without loading full content. Returns headers, row count, and sample rows. Supports optional column analysis with unique values and null counts. |
transformCsv |
Transforms and modifies CSV files with three operation modes: APPEND (add new rows), REPLACE (overwrite target), and UPDATE (modify existing rows in-place). Supports column mappings, row filters, value transformations, default values, and automatic backup creation. |
deleteCsvRows |
Deletes rows from CSV files based on filter criteria with multiple operators (equals, not_equals, in, not_in, contains, not_contains, starts_with, ends_with, empty, not_empty). Includes safety checks and automatic backup creation. |
splitOdsToCsv |
Splits ODS (OpenDocument Spreadsheet) files into separate CSV files per sheet. Skips empty sheets and returns details about created files. Useful for converting Google Sheets exports to Spryker-compatible CSVs. |
AI assistants can automatically discover and use these tools when connected to the MCP server.
Thank you!
For submitting the form