Edit product options
Edit on GitHubTo edit product options in the Back Office, follow the steps below.
Prerequisites
- Go to Products > Product Options. This opens the Product option list page.
- Next to the product option you want to edit, click Create product option.
Review the reference information before you start, or look up the necessary information as you go through the process.
Edit general settings of product options
- On the Edit product option page, click the General Information tab.
- Select a TAX SET.
- For PRICES, enter prices for needed options.
- Next to the product options you want to remove, click Remove.
- To add a product option, do the following:
- Click Add option.
- Enter an OPTION NAME TRANSLATION KEY.
- Enter a SKU.
- For PRICES, enter needed prices for the option.
- Repeat step 5 until you add the needed options.
- In the Translation section, enter a GROUP NAME per locale.
- Enter an OPTION NAME per locale.
- Click Save. The page refreshes with a success message displayed.
Reference information: Edit general settings of product options
| ATTRIBUTE | DESCRIPTION |
|---|---|
| GROUP NAME TRANSLATION KEY | Glossary key of the product option group. |
| TAX SET | Tax set to apply to the product options. To create one, see Create tax sets. |
| OPTION NAME TRANSLATION KEY | Glossary key of a product option. |
| SKU | Unique identifier of a product option. |
| PRICES | Gross and net values per currency per locale. When a price is set to 0, the options is free of charge. |
| GROUP NAME | Name of the product option group that is displayed on the Storefront. |
| OPTION NAME | Names of product options that are displayed on the Storefront. |
Assign and deassign product options from products
- On the Edit product option page, click the Products tab.
- On the All products subtab, select the products you want to assign the option to. The product options will be displayed on the pages of the selected products.
- Click the Assigned products subtab.
- Clear the checkboxes next to the products you want to deassign the option from. The product options will be removed from the pages of the products.
- Click Save. The page refreshes with a success message displayed. You can check the updated selection in the Assigned products subtab.
Tips and tricks
When assigning and deassigning a lot of products at a time, it may be useful to double-check your selection in Products to be assigned and Products to be deassigned tabs respectively.
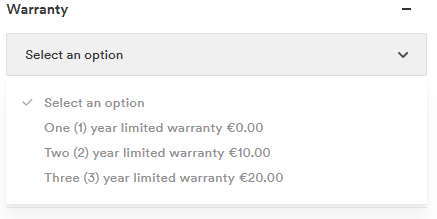
Reference information: Product options on the Storefront
Warranty and Insurance are product option groups:
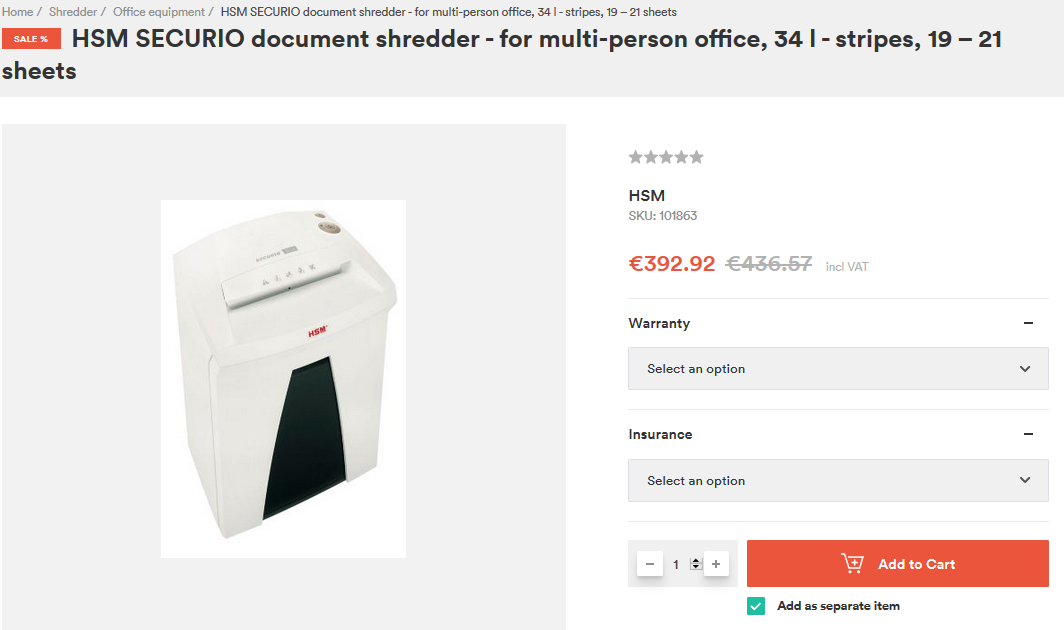
Product options:
Thank you!
For submitting the form